

Having trouble with your TP-Link extender connected but no internet? Continue reading!
Dealing with extender connection problems can be tricky because it’s tough to tell if the router, physical connections, network settings, or the extender itself is causing the issue.
So, we have prepared this guide with proven steps to help you get your TP-Link extender’s internet working.
If the TP-Link extender’s Wi-Fi is connected but you have “no internet”, verify your broadband connection and soft reset the extender. If this doesn’t help, configure the DNS settings and perform the factory restoration process.
To unwrap how all of this is done, continue reading!
TP-Link Extender Connected But No Internet – Easy Solutions
Tip: Apply the solution steps in chronological order!
1. Verify Your Broadband
If your TP-Link extender is connected to the router, but there is no internet connection, it’s likely that your broadband connection is down.
This is why you need to justify whether your extender is connected to a so-called “empty” Wi-Fi, which happens when your service is currently offline.
- Important: Test your broadband on an Ethernet-connected device to your router!
The quickest way to check if your broadband is down is to connect to the router’s Wi-Fi directly and attempt to surf online.
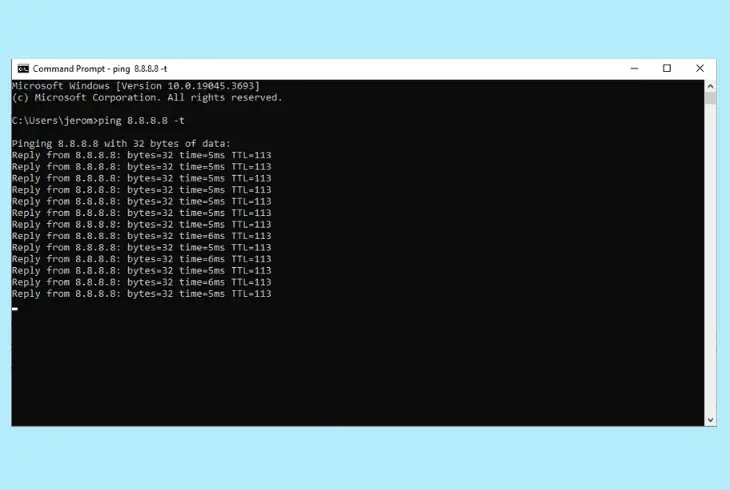
Another way to check your broadband consistency is to use the Windows “Command Prompt” and type “ping 8.8.8.8-t”.
This will continuously send packets to Google’s DNS and receive a response, which will show you whether any of the packets will “Time Out.”
Note: If your broadband connection is dropping, this is why your TP-Link extender is connected without an internet connection.
2. Soft Reset the Extender
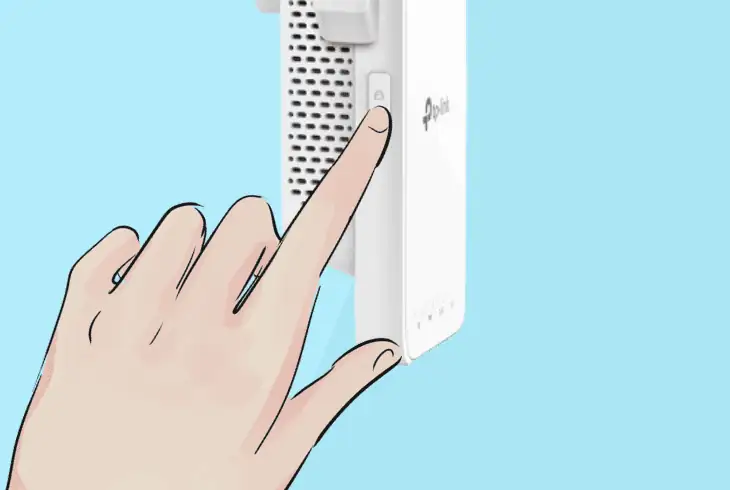
When experiencing connectivity issues, a good method is to perform a soft reset on the device.
Although that’s a basic thing to do, it will help with clearing out all temporary glitches and should restore the device’s hardware and software, allowing the connection to be established cleanly.
Note: Performing a soft reset on the extender doesn’t delete any of your configured settings!
Here’s how to soft reset the TP-Link extender in easy steps:
- First, press the Power button on the extender.
- After about 5 seconds, unplug the extender.
- Leave the extender unplugged for 3 minutes.
- Then, plug the extender back into the outlet.
- Turn “ON” the TP-Link extender and then test.
Keep in mind that the extender may take a few minutes to establish a connection with the router, so be patient with it.
Once all of your connected devices connect to the extender back, then test if the internet connection is accessible.
Tip: Always connect your TP-Link extender directly to the outlet to avoid A/C fluctuations!
3. Check the Status Lights
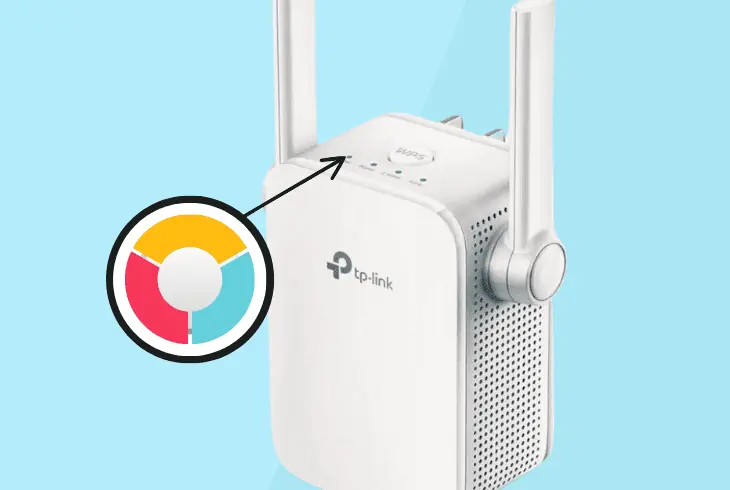
The next thing you should check is the operation status of the TP-Link extender!
TP-Link Extender Power LED:
Start by checking the Power LED on the TP-Link extender.
If only the power LED light is on, this indicates that the extender is powered on but not correctly configured.
In that case, you need to factory reset the extender and set up everything again.
TP-Link Extender Signal LED:
Then, check the Signal Strength LED on the extender as this reflects the quality of the network connection to the router.
You may need to adjust the extender’s placement to optimize the signal with the network router and restore the internet access.
Note: If the signal LED is not lit, then your TP-Link extender is not connected to the router!
4. Confirm the Connection
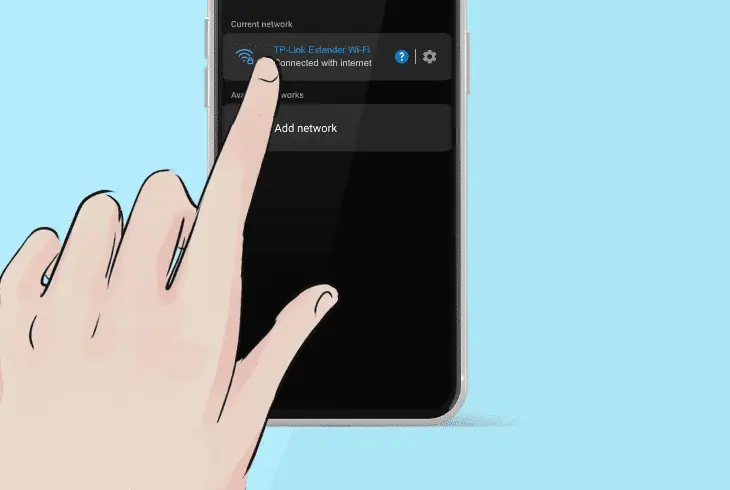
Remember that the TP-Link extender will create a separate network other than that created by your router.
So, if you have your TP-Link WiFi extender connected but no internet, we advise you to double-check and ensure you are connected to the network hosted by your extender.
Here’s how you can check the network on your devices:
- Take your device used for the connection.
- Head over to the “Settings” and then “Wi-Fi.”
- Locate the “Wi-Fi” with the “TP-Link” name.
- Finally, select the “Wi-Fi” and connect to it.
Pro Tip – Forget & Reconnect
If you’re connected to the TP-Link extender’s Wi-Fi network but have no internet, the issue likely comes from your connection device.
To refresh the connection quickly, tap the “Info” button next to the Wi-Fi and select “Forget.”
Then, select the Wi-Fi and insert the password to reconnect.
Note: Stay as close to the extender as possible when connecting and testing the internet!
5. Correct the Extender Placement
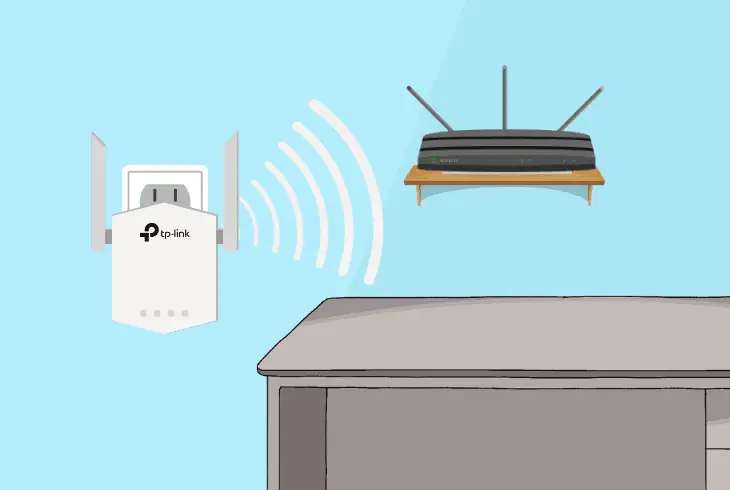
Sometimes, the problem is simply a signal interference from nearby electronic or wireless devices emitting the same RF signal as the Wi-Fi.
Other times, it could be due to the considerable distance between the extender and the Wi-Fi router, which prevents both devices from correctly working.
Here are some essential factors to take into consideration:
- Do not place the TP-Link extender in enclosed spaces.
- Avoid placing the extender on shelves with a lot of stuff.
- Avoid putting the TP-Link extender near big appliances.
- Avoid units such as microwaves, fish tanks, and phones.
Pro Tip: The TP-Link extender must be installed between your router and the dead Wi-Fi zone of your home.
6. Change the DHCP Settings
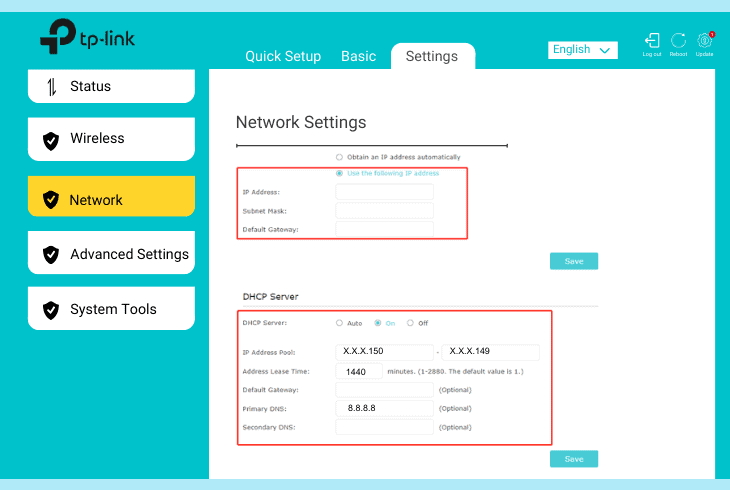
If the TP-Link extender shows connected but no internet, you must configure the DHCP settings, as this is responsible for assigning IP addresses to devices on the network.
Thus, if the TP-Link extender’s DHCP settings are misconfigured, it can lead to conflicts and connectivity problems.
Follow these steps to change the TP-Link extender DHCP settings:
- On a web browser, go to “www.tplinkrepeater.net.”
- After that, log in with the TP-Link extender’s details.
- Click on the “Settings” and then the “Network” tab.
- Choose “Use the following IP address” and “Save.”
- For the DHCP Server, choose the “ON” toggle button.
- In the IP Address tab, insert the value “10.0.200.X”.
- In the IP address pool, set “X.X.X.150” – “X.X.X.199”.
- In the Address Lease Time, set the value to “1440”.
- Set the Default Gateway & Primary DNS accordingly.
- Press the “Save” button to apply all the new changes.
The device’s Default Gateway can be discovered by typing “ipconfig” in the Command Prompt.
As far as the Primary DNS, it would be based on the one you’re currently using.
Note: For example, Google's Primary DNS is “8.8.8.8.”
7. Update the Extender’s Firmware
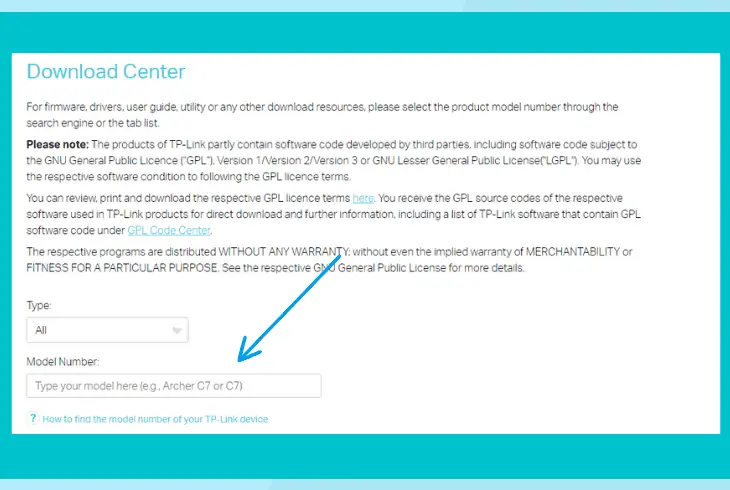
Outdated firmware on the TP-Link extender can frequently lead to connection problems, hence, manufacturers keep releasing updates to address such faults.
Since TP-Link extenders do not automatically update their firmware, you must manually initiate the system update process.
Important: Ensure your PC and extender are connected via Ethernet for a stable connection!
Use these steps to update the firmware of your extender manually:
Step #1 Download the Latest Firmware
- Through any web browser, go to the TP-Link OS Download Center.
- Scroll down to “Home” → “Network Expansion” → “Range Extenders.”
- Choose your extender model number and download the firmware.
Step #2 Back Up your Current Settings
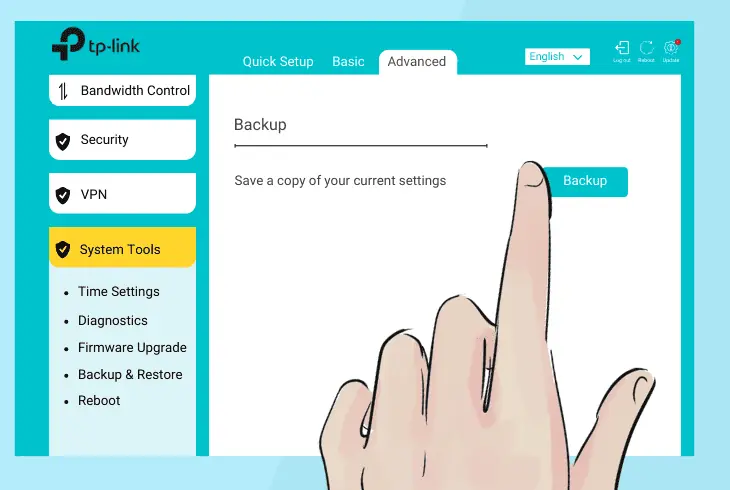
- On a web browser, go to “www.tplinkrepeater.net.”
- After that, sign in with your extender’s credentials.
- Then, click on “Settings” from the top of the section.
- Next, click “System Tools” → “Backup & Restore.”
- Click on “Backup” to save the current configuration.
Step #3 Install the Latest Firmware Update
- Begin by clicking on “Settings” from the top of the page.
- Then, click on “System Tools” → “Firmware Upgrade.”
- Click on the “Browse” button and find the downloaded file.
- The